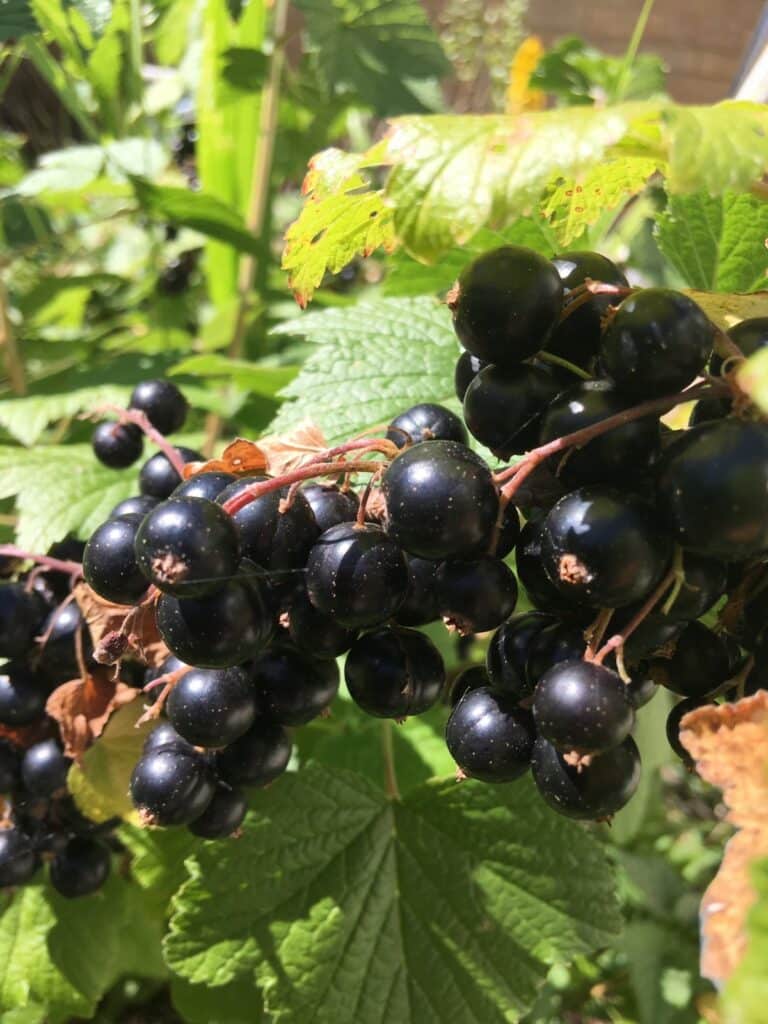
If you would like to make your own home made jam, but have never tackled it before, this is a great one to start with as it’s one of the easiest. Having said that, raw blackcurrants are hard to find in the shops. I am lucky enough to be able to grow some in the garden, if you don’t have that privilege, you might know someone with an allotment, or scout the greengrocers.
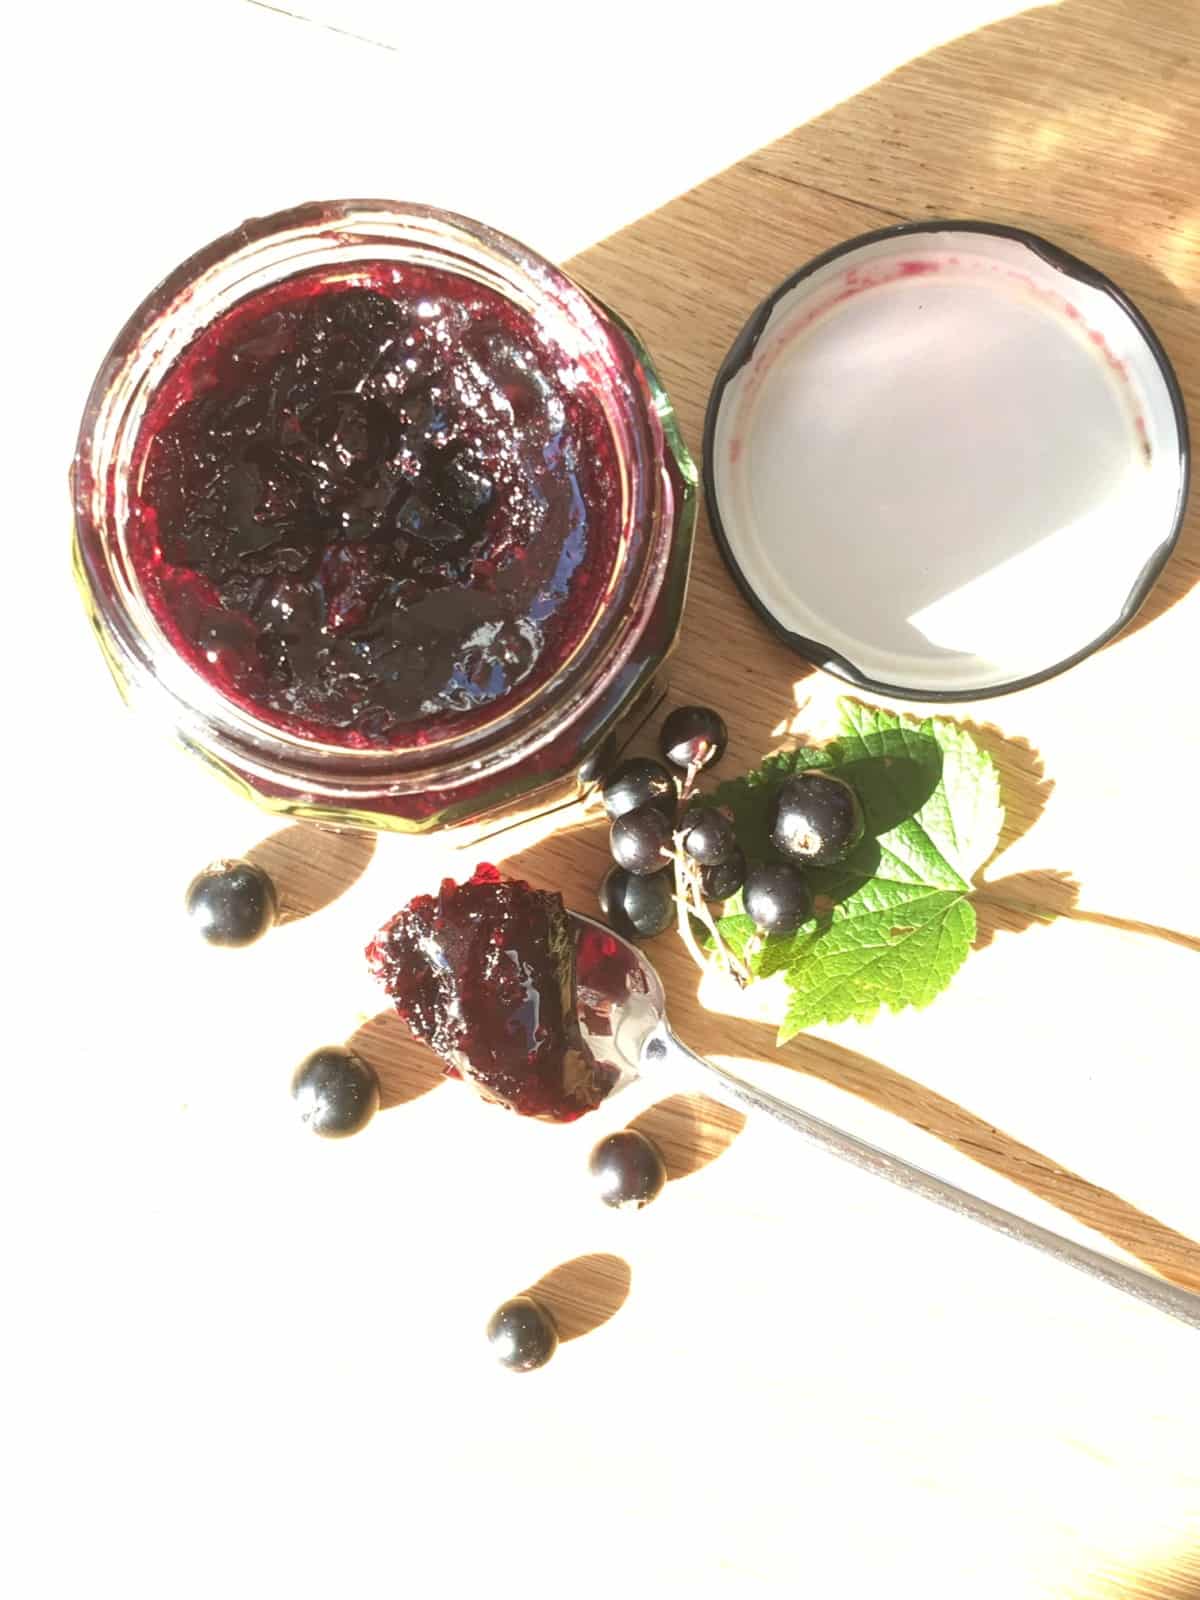
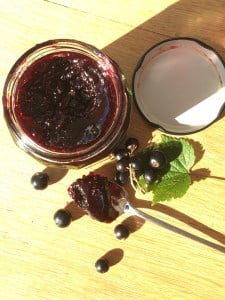
Beautiful home grown blackcurrants made into very tasty jam
You might be able to make blackcurrant jam from frozen fruit, sometimes available in the shops, or from online farmers
Blackcurrants are incredibly good for us, very rich in vitamin C and polyphemols when eaten raw, e.g. In a classic summer pudding like this wonderful looking example from Delia Smith
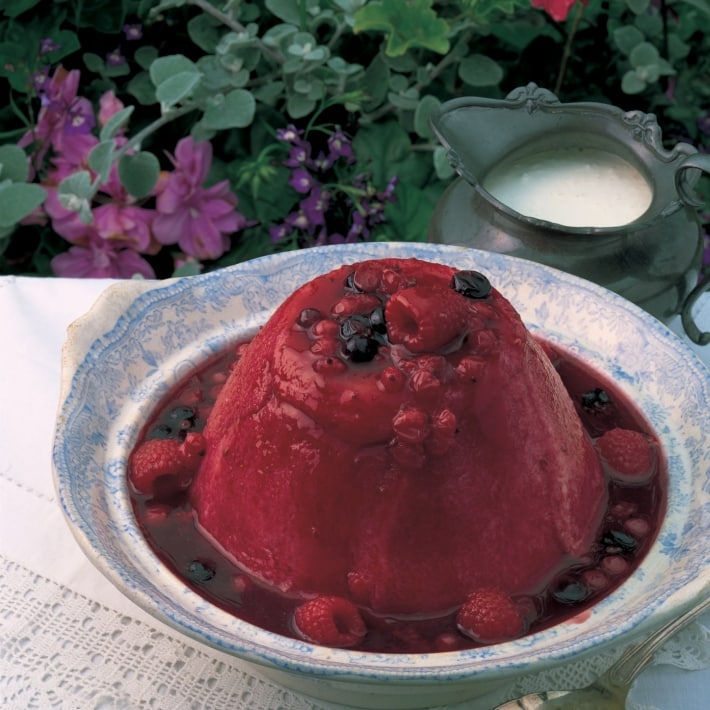
They are easy to grow, not needing much looking after and reward you with 10-15lbs of fruit, per bush, per year. If you’d like to grow your own and enjoy this wonderful fruit in summer puddings, ice creams, smoothies and of course, jam, here’s how to grow them
Assuming you can find some, here’s a fab recipe for home made blackcurrant jam.
What do I need to make blackcurrant jam
to make 6 jam jars of homemade blackcurrant jam, you will need
- 1kg blackcurrants
- 1kg sugar – ordinary sugar is fine for blackcurrant jam. Blackcurrants are full of pectin, so you don’t need special jam making sugar
- 1.5 pints water
- knob of butter
How to prepare blackcurrants for jam
First of all, I remove the leaves and any insects crawling about in the bowl. Then I pick the currants off any stems. After that, I go through and pinch off the stem from any berries that have a lot of stem attached. I don’t top and tail them as it would take far too long and isn’t necessary.
Finally, the blackcurrants are put into a sieve and given a thorough wash
How to make blackcurrant jam
- Put the currants and water in a large saucepan able to tolerate very hot temperatures. You don’t need a preserving pan if you haven’t got one. If you do have one of course, feel free to use it
- Cover, bring to the boil, and simmer gently for around 20 minutes. Stir every now and again to prevent the pulp sticking and burning.
- The skins need to be soft. Do not rush this step. Cook the fruit on too high a heat and they may catch and give your lovely jam a burnt flavour. Cook for not enough time and you’ll have hard or chewy fruit in the finished jam.
- Once the fruit is soft enough, add the sugar. Remove the lid and boil quite fast until setting point is reached. This should be about 10 minutes
- You can test this by putting a teaspoon of jam on a cold saucer and putting it in the fridge for a couple of minutes. If it’s ready, it willhave formed a skin in that time and when you push it gently with a finger you’ll see that skin.
- If you have a thermometer able to measure high enough, it should set when it reaches 104c/220f. Just keep simmering until it’s ready, but, on the other hand, don’t simmer more than necessary, or the lovely fresh flavour will gradually be lost.
- While the jam is simmering, sort your jam jars out. If you haven’t already, wash them, and pop them in a low oven to sterilise them. Some people use jars fresh from the dishwasher. Whatever you do, they need to be very clean, and dry.
Any water in the jars allows a sugar syrup to develop, and over time, that may well grow mould, spoiling your lovely jam.And they need to be scrupulously clean so your jam will keep well, there must be no germs, bacteria or mould spores at all in the jars.And don’t forget the lids. If you are not using lids, cover the jars with cellophane circles and elastic bands. Or use circles cut from cereal box inners and perhaps a pretty ribbon. A little gingham fabric looks fabulous. Anything that will keep the jam clean and dry will do the job.
- Once the jam is ready to set, stir in a generous knob of butter, this gets rid of any scum floating on the surface. Stir well. Leave to cool for about 10 minutes, stirring now and again
- Put your jars on a heatproof surface and carefully ladle in the jam. Be careful, splashes will burn you badly at this temperature. A jam funnel is helpful for this
- I usually put a very clean tea towel over the filled jars until they are just warm and only then put the lid on. The tea towel is to keep any mould spores in the air, off the surface of the jam.
Others have recommended putting the lids on straight away and turning the jars upside down
Do you seal jam jars when hot?
Personally, I do. I put boiling jam into hot jars that I’ve warmed in the oven. I cover and leave them until they’ve cooled a little, then screw the lids on tight. I cool them a bit as I don’t want the steam to condense on the lid and drip onto the top of the jam, encouraging mould. Or you could seal them straightaway and turn them upside down.
Something old and something new. A lovely pie and a leftovers pudding
Instructions
- First of all, remove your currants from their stalks.
- Sort through them and remove any leaves, stones and unusable currants. Give them a rinse under the tap and drain.
- Now put the currants and water in a large saucepan able to tolerate very
hot temperatures. You don’t need a preserving pan if you haven’t got
one. If you do have one of course, feel free to use it - Cover, bring to the boil, and simmer gently for around 20 minutes. Stir every now and again to prevent the pulp sticking and burning.
- The skins need to be soft. Do not rush this step. Cook the fruit on too
high a heat and they may catch and give your lovely jam a burnt flavour.
Cook for not enough time and you’ll have hard or chewy fruit in the
finished jam. - Once the fruit is soft enough, add the sugar. Remove the lid and boil quite fast until setting point is reached. This should be about 10 minutes
- You can test this by putting a teaspoon of jam on a cold saucer and
putting it in the fridge for a couple of minutes. If it’s ready, it will
have formed a skin in that time and when you push it gently with a
finger you’ll see that skin. - If you have a thermometer able to measure high enough, it should set when it reaches 104c/220f. Just keep simmering until it’s ready, but, on the other hand, don’t simmer more than necessary, or the lovely fresh flavour will gradually be lost.
- While the jam is simmering, sort your jam jars out. If you haven’t already, wash them, and pop them in a low oven to sterilise them. Some people use jars fresh from the dishwasher. Whatever you do, they need to be very clean, and dry.Any water in the jars allows a sugar syrup to develop, and over time, that may well grow mould, spoiling your lovely jam. And they need to be scrupulously clean so your jam will keep well, there must be no germs, bacteria or mould spores at all in the jars.And don’t forget the lids. If you are not using lids, cover the jars with cellophane circles and elastic bands. Or use circles cut from cereal box inners and perhaps a pretty ribbon. A little gingham fabric looks fabulous. Anything that will keep the jam clean and dry will do the job.
- Once the jam is ready to set, stir in a generous knob of butter, this gets rid of any scum floating on the surface. Stir well. Leave to cool for about 10 minutes, stirring now and again
- Put your jars on a heatproof surface and carefully ladle in the jam. Be careful, splashes will burn you badly at this temperature. A jam funnel is helpful for this
- I usually put a very clean tea towel over the filled jars until they are just warm and only then put the lid on. The tea towel is to keep any mould spores in the air, off the surface of the jam.Others have recommended putting the lids on straight away and turning the jars upside down
Equipment Needed
Notes
Got a great recipe? How about submitting it to appear on Thrifty Lesley!



I thought it seemed like a lot of water but it turned out perfectly, really fruity and delicious. Thanks.