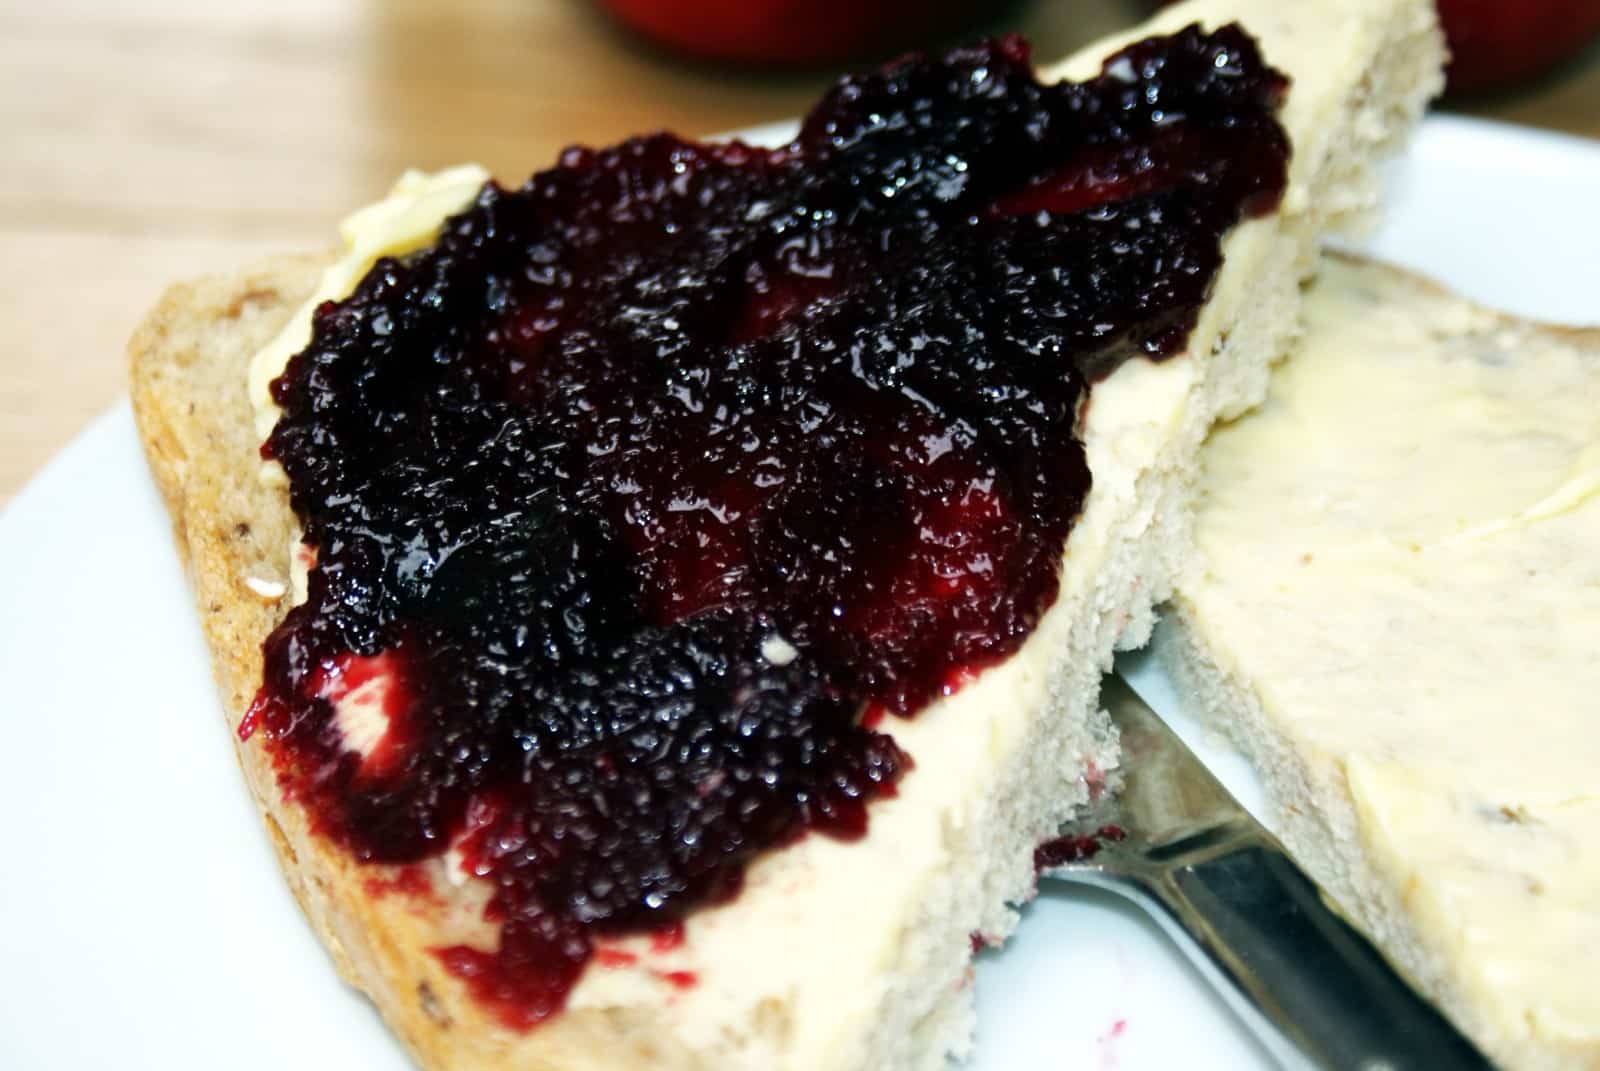
Home made sloe & apple jam
A good jam to start with if you haven't made it before
Servings: 3 370g jars
Calories: 289kcal
Equipment
Instructions
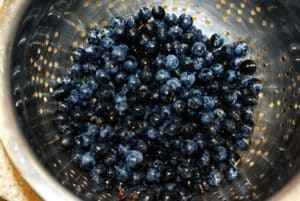
Sloe Berries
- First of all, pick over and wash your sloe berries. Sort through them and remove any leaves, stones and unusable sloe berries. Give them a rinse under the tap and drain.
- Now put the sloe berries and water in a large saucepan able to tolerate very hot temperatures. You don’t need a preserving pan if you haven’t got one. If you do have one of course, feel free to use it. I tend to use my large stock pot
- Cover, bring to the boil, and simmer gently for around 10 minutes. Stir every now and again to prevent the pulp sticking and burning.
- Now put the sieve over a heat proof bowl, tip the sloe berries into the sieve and push as much pulp as you can get through the sieve. Sloe berries have large stones for the size of the fruit

Apples
- Peel and core the apples. Remove any bruised parts or any insect damage
- Slice finely and place in the preserving pan, or large saucepan along with the lemon zest and juice
Jam
- Add the sloe pulp to the pan
- Simmer gently until the apples are cooked through. Depending on the type of apples you used, they may cook down to a mush, or they may remain whole. If the pieces are too large, whizz with a stick blender to mush them down
- Do not rush this step. Cook the fruit on too high a heat and they may catch and give your lovely jam a burnt flavour. Cook for not enough time and you’ll have hard or chewy fruit in the finished jam.
- Once the fruit is soft enough, add the sugar. Remove the lid and boil a bit faster until setting point is reached. This should be about 10 minutes. This jam sets really well, so shouldn't take long. Don't boil too hard as the mix is quite thick, like a puree, and it may stick
- You can test the set by putting a teaspoon of jam on a cold saucer and putting it in the fridge for a couple of minutes. If it’s ready, it will have formed a skin in that time and when you push it gently with a finger you’ll see that skin.
- If you have a thermometer able to measure high enough, it should set when it reaches 104c/220f. Just keep simmering until it’s ready.
- While the jam is simmering, sort your jam jars out. If you haven’t already, wash them, and pop them in a low oven to sterilise them. Some people use jars fresh from the dishwasher. Whatever you do, they need to be very clean, and dry.Any water in the jars allows a sugar syrup to develop, and over time, that may well grow mould, spoiling your lovely jam. And they need to be scrupulously clean so your jam will keep well, there must be no germs, bacteria or mould spores at all in the jars.And don’t forget the lids. If you are not using lids, cover the jars with cellophane circles and elastic bands. Or use circles cut from cereal box inners and perhaps a pretty ribbon. A little gingham fabric looks fabulous. Anything that will keep the jam clean and dry will do the job.
- Once the jam is ready to set, there may be scum on the top. Either skim it off, or stir in a generous knob of butter, this gets rid of any scum floating on the surface. Stir well. Leave to cool for about 10 minutes, stirring now and again
- Put your jars on a heatproof surface and carefully ladle in the jam. Be careful, splashes will burn you badly at this temperature. A jam funnel is helpful for this
- I usually put a very clean tea towel over the filled jars until they are just warm and only then put the lid on. The tea towel is to keep any mould spores in the air, off the surface of the jam.Others have recommended putting the lids on straight away and turning the jars upside down
Notes
Nutrition is per 100g, assuming 3.5 x 370g jar yield

Got a great recipe? How about submitting it to appear on Thrifty Lesley!
Got a great recipe? How about submitting it to appear on Thrifty Lesley!
Nutrition
Calories: 289kcal | Carbohydrates: 75g | Protein: 1g | Fat: 1g | Saturated Fat: 1g | Sodium: 2mg | Potassium: 103mg | Fiber: 2g | Sugar: 72g | Vitamin A: 138IU | Vitamin C: 9mg | Calcium: 6mg | Iron: 1mg
