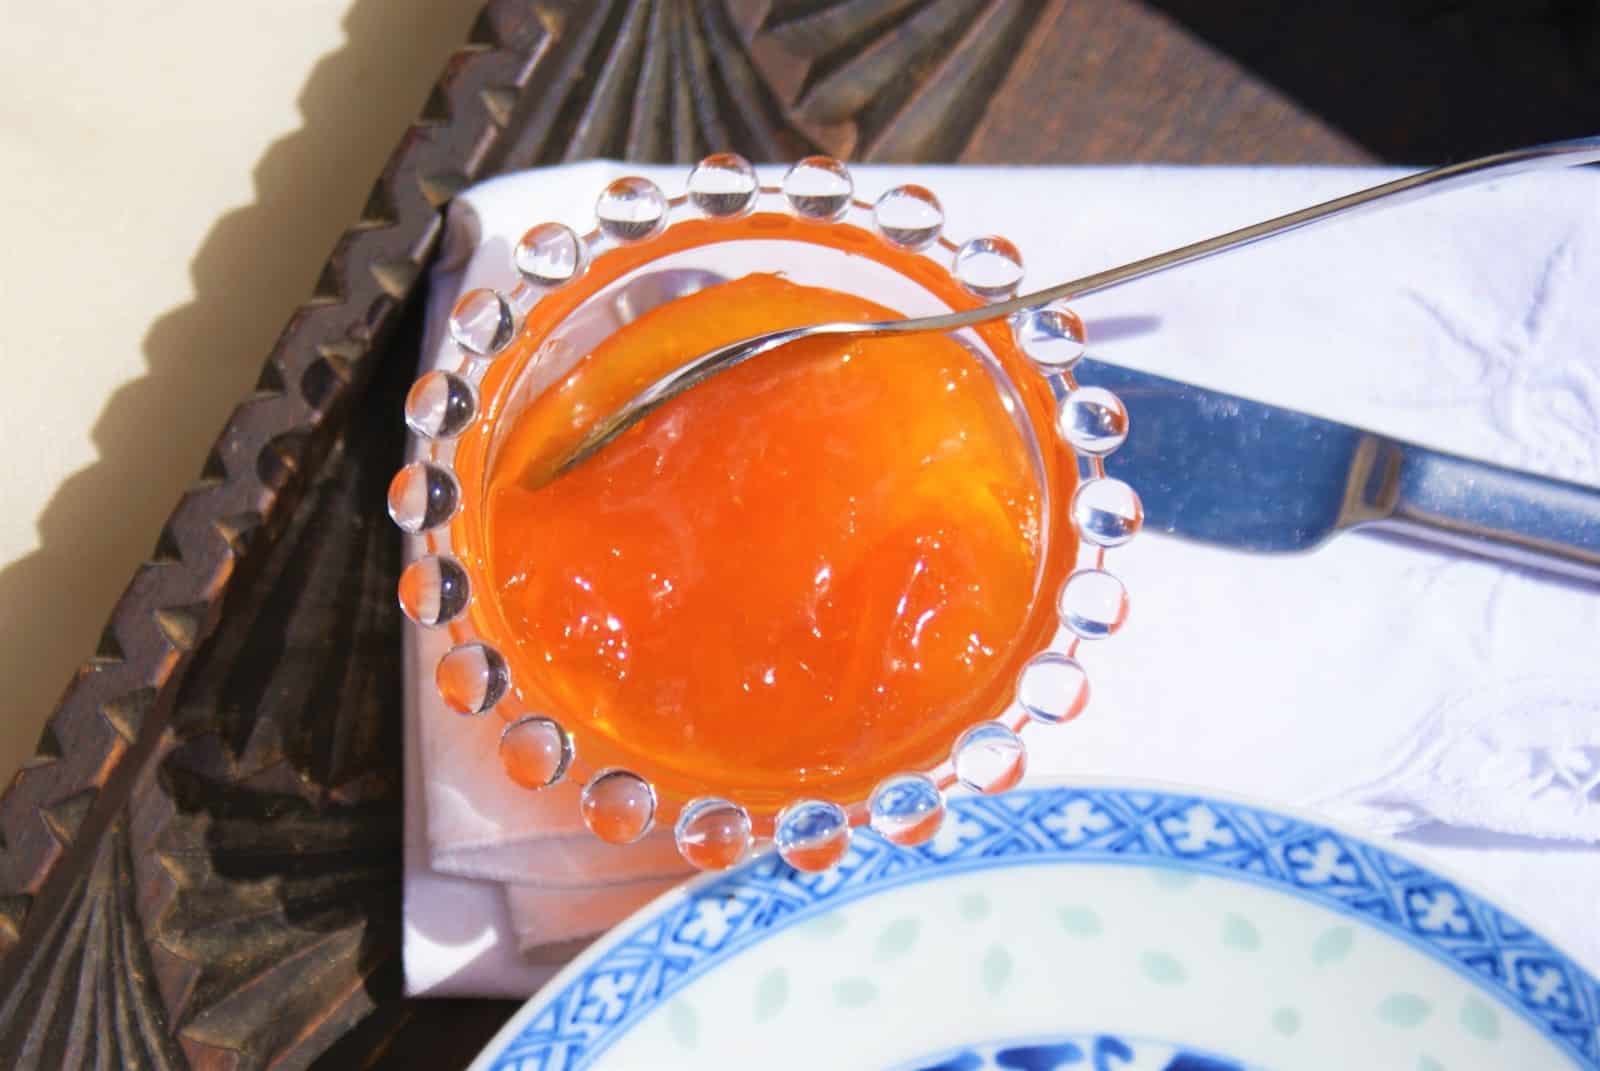
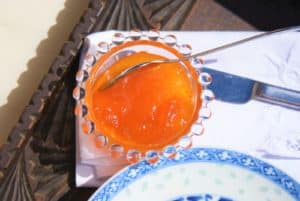
Home made apricot jam
Six beautiful jars of jam. It has a delightful fresh flavour, I'm sure I can taste that lemon juice!
Servings: 6 jam jars
Calories: 251kcal
Cost: 39p per jar
Equipment
- or
- optional
Ingredients
- 1 kg apricots 3 punnets at 49p each, £1.47
- 1.4 kg sugar 59p/kg, 82p
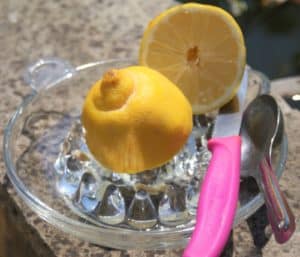
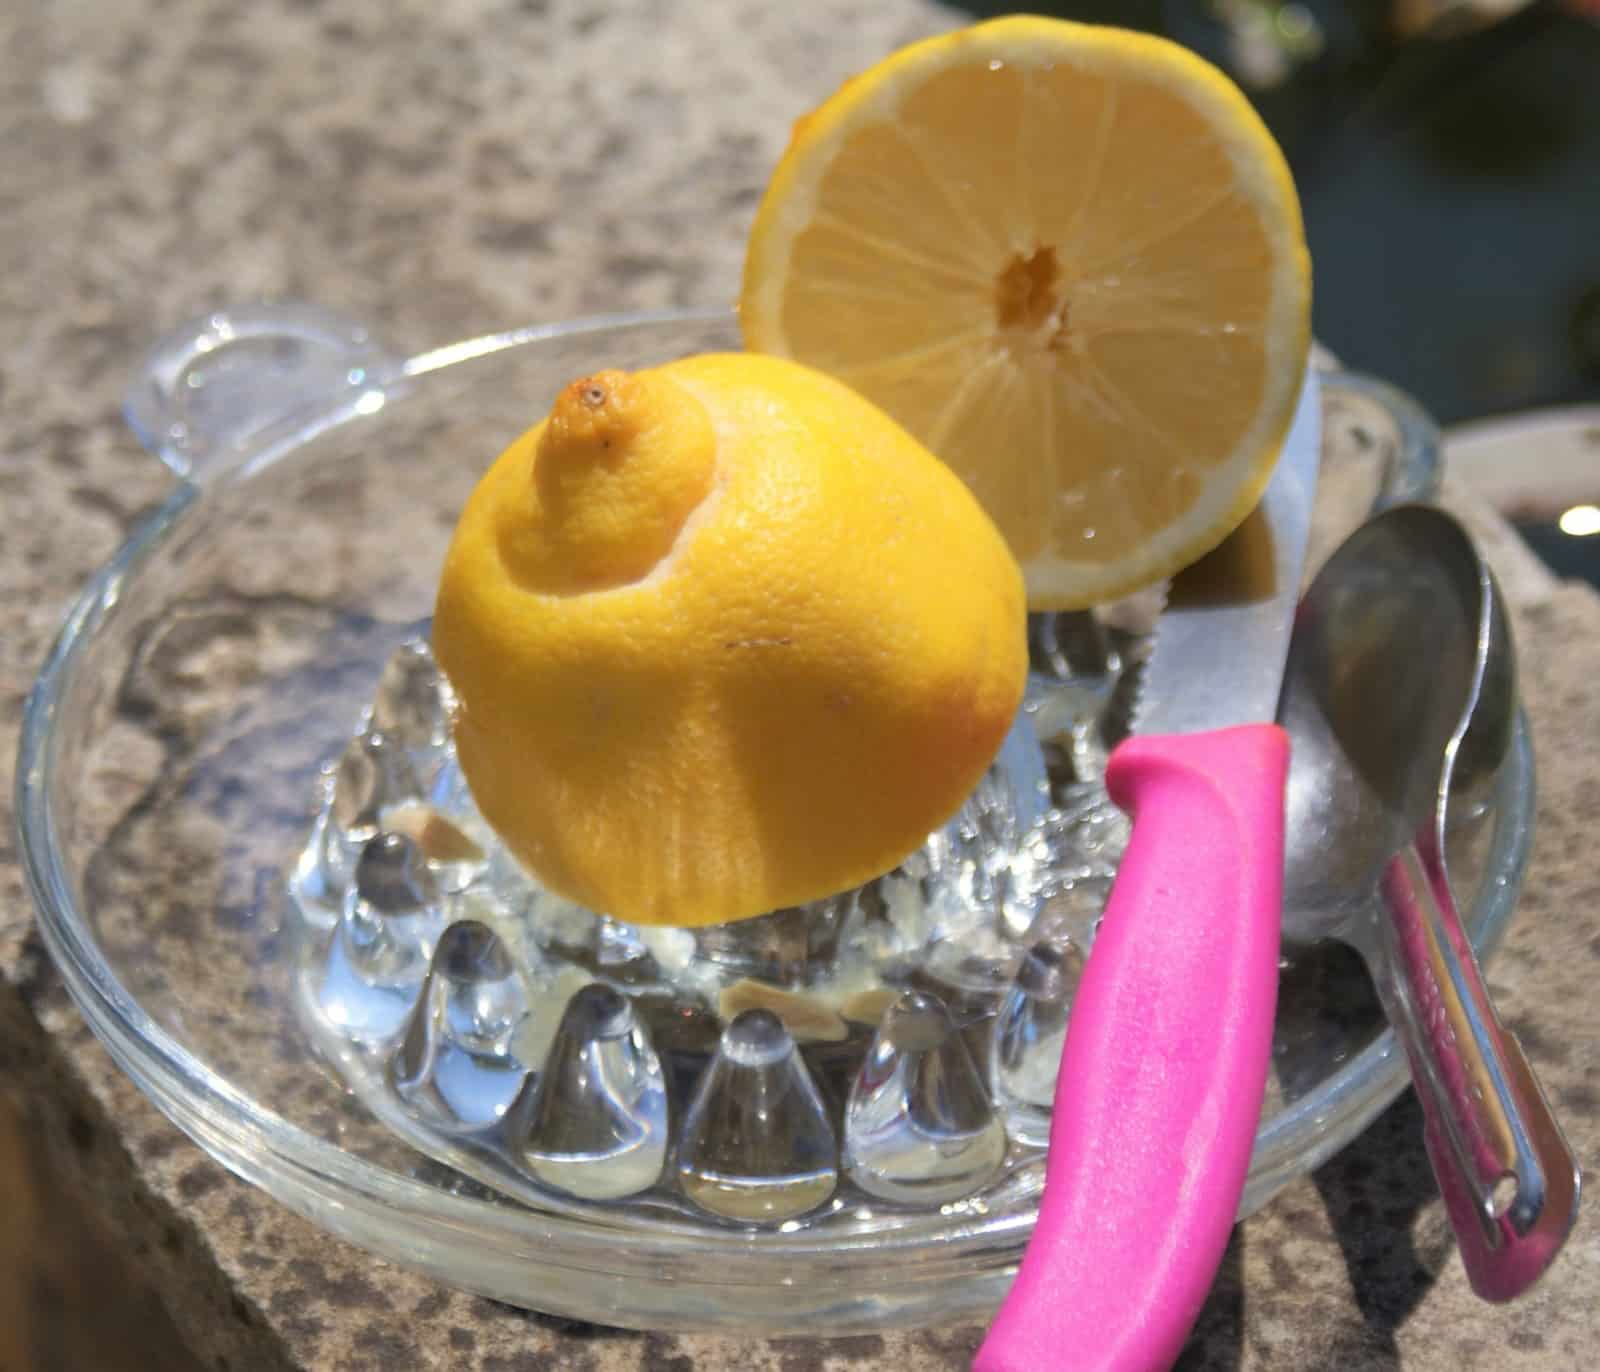
- 3 tblsp lemon juice, and the zest too if you like 45ml, lemon juice, 250ml/39p, 7p
- 1 tblsp butter
Instructions
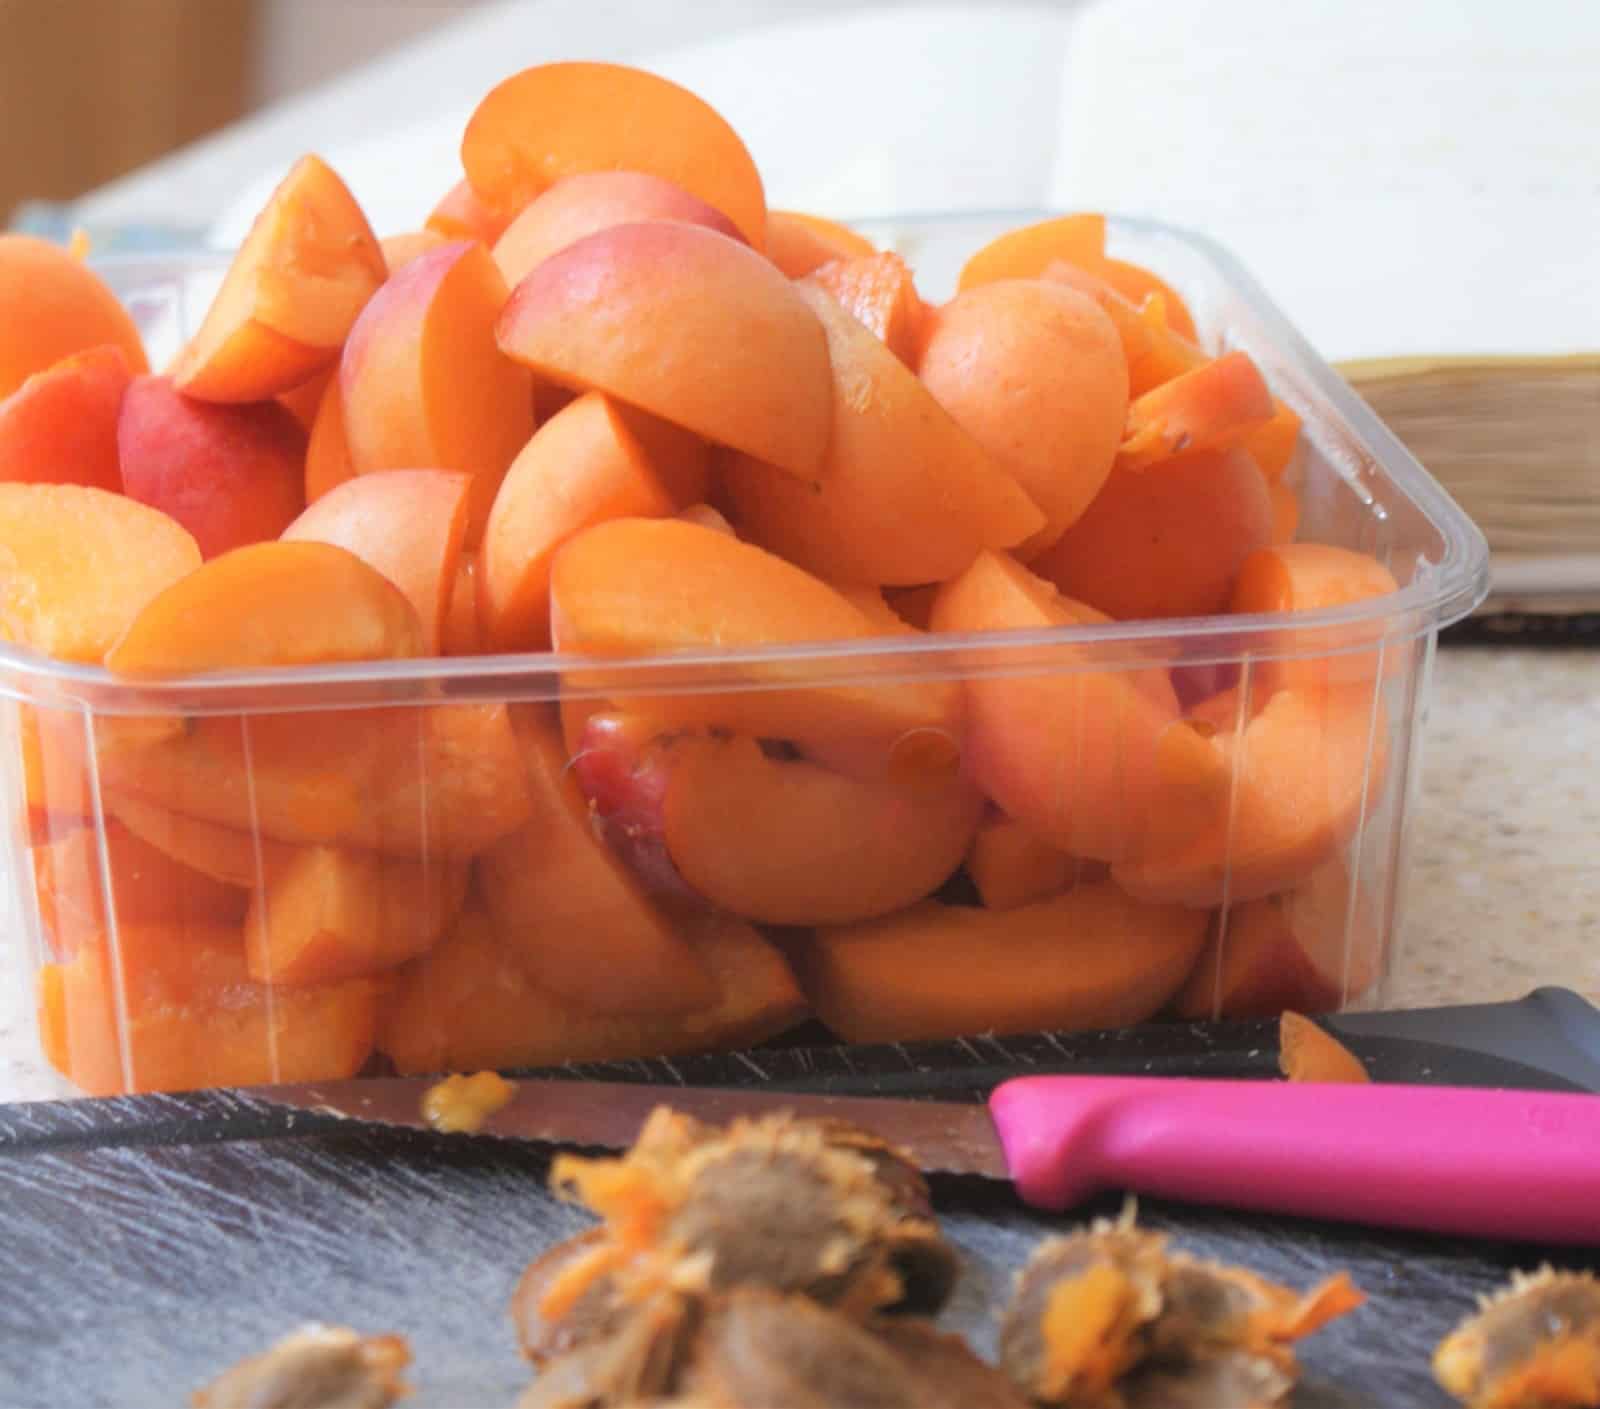
- Rinse the apricots, then halve and destone them. Slice them and put in a large saucepan able to tolerate very hot temperatures. You don't need a preserving pan if you haven't got one, but the saucepan must be thick bottomed or your jam many catch and burn.

- Add a quarter pint / 140ml water and the lemon juice. Cover, bring to the boil, and simmer gently for about 20 minutes, until the fruit is well broken up. You may need to mush it up a bit, once the sugar is added, the apricots won't break up much more.
- Once the fruit is softened, add the sugar, bring back to the boil and simmer quite hard, with the lid off, until setting point is reached
- You can test this by putting a teaspoon of jam on a cold saucer and putting it in the fridge for a couple of minutes. If it's ready, it will have formed a skin in that time and when you push it gently with a finger you'll see that skin.
- If you have a thermometer able to measure high enough, it should set when it reaches 105c/220f. Just keep simmering until it's ready, but, on the other hand, don't simmer more than necessary, or the lovely fresh flavour will gradually be lost. click here to start a 30 minute timer
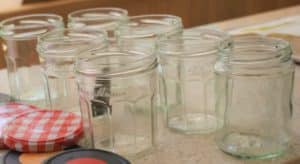
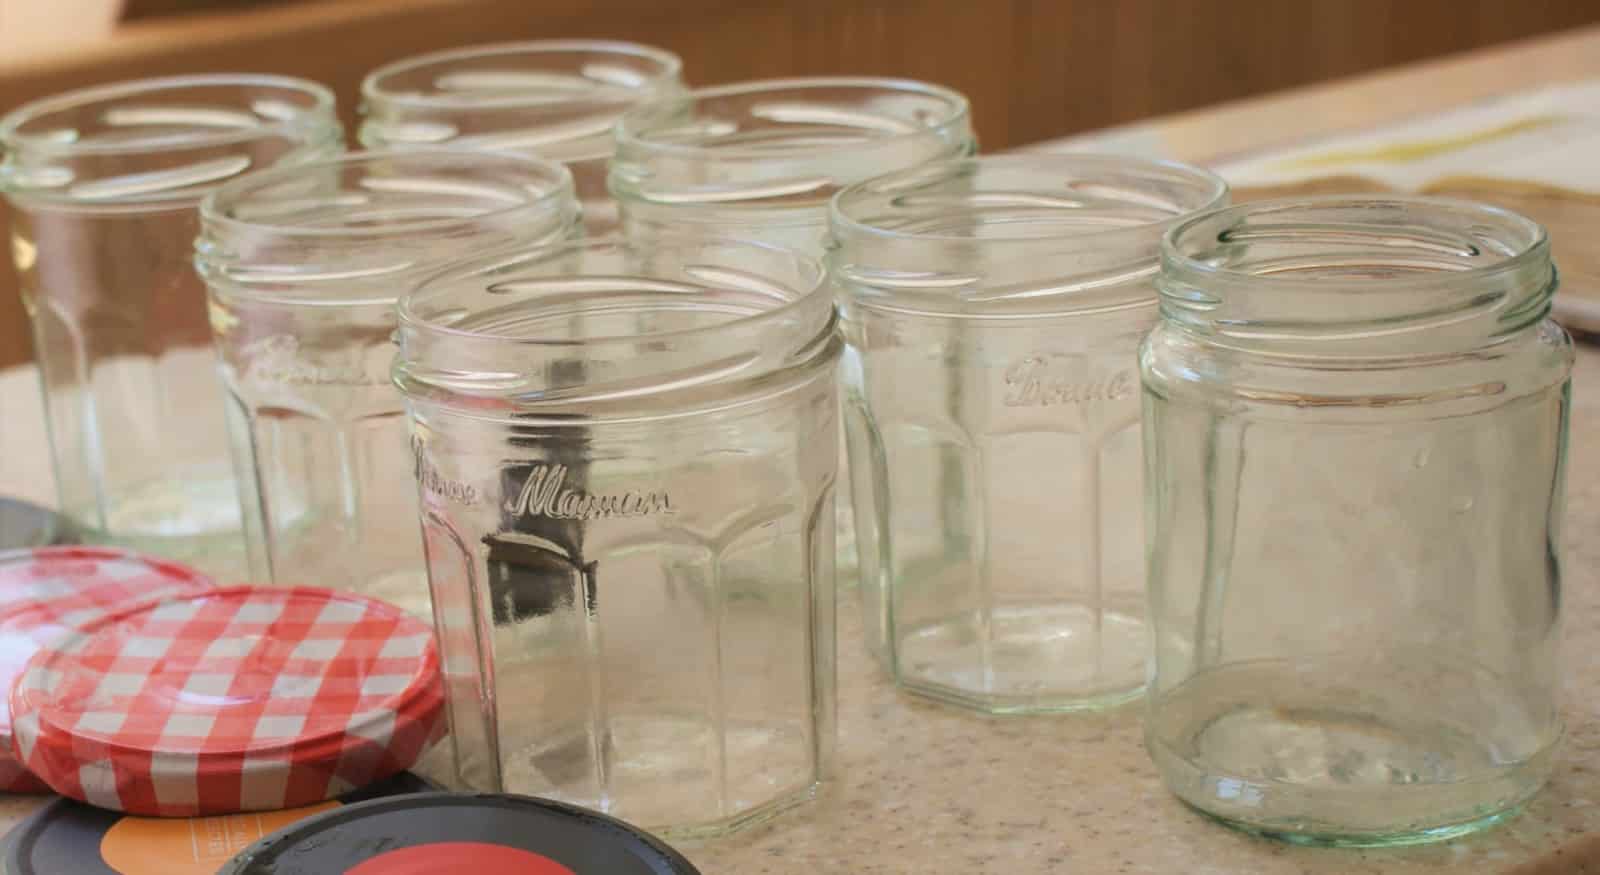
Jam Jars
- While the jam is simmering, sort your jam jars out. I had already washed them, so popped them in a low oven to sterilise them. Some people use jars fresh from the dishwasher. Whatever you do, they need to be very clean, and dry. Any water in the jars allows a sugar syrup to develop, and over time, that may well grow mould, spoiling your lovely jam. And they need to be scrupulously clean so your jam will keep well, there must be no germs, bacteria or mould spores at all in the jars. And don't forget the lids. If you are not using lids, cover the jars with cellophane circles and elastic bands. Or use circles cut from cereal box inners and perhaps a pretty ribbon. A little gingham fabric looks fabulous. Anything that will keep the jam clean and dry will do the job.
Storing your jam
- Once the jam is ready to set, stir in a generous knob of butter. Stir well. Put your jars on a heatproof surface and carefully ladle in the jam. Be careful, splashes will burn you badly at this temperature.
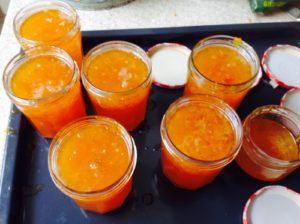
- This batch should yield 6 jam jars full and a little leftover. I usually put a very clean tea towel over the filled jars until they are just warm and only then put the lid on. The tea towel is to keep any mould spores in the air, off the surface of the jam.Or sometimes, when the jars have just been filled, once the lids are securely screwed on, I flip them upside down for a couple of minutes

Notes

Nutrition
Calories: 251kcal | Carbohydrates: 63g | Protein: 1g | Fat: 1g | Saturated Fat: 1g | Cholesterol: 1mg | Sodium: 5mg | Potassium: 110mg | Fiber: 1g | Sugar: 62g | Vitamin A: 818IU | Vitamin C: 5mg | Calcium: 6mg | Iron: 1mg
