Bees Wax Wraps & a Sandwich Bag
An eco alternative to plastic cling film
Servings: 2 wraps and a bag
Calories: 0kcal
Cost: up to 10p, plus fabric
Equipment
- and
- or
Ingredients
- 10 g beeswax from a 300g pack
- 3 pieces fabric scraps, close woven cotton from your stash, or beautiful fat quarters
- 1 piece fabric scrap for a sandwich bag
- 2 pieces greaseproof paper larger than your largest wrap
Instructions
For flat beeswax wraps
- First decide on the size of wrap you would like. Most purchased packs of beeswax wraps come in a pack of five to include a small (7 x 8 inches), medium (10 x 11 inches) and 3 x large (12 x 14 inches). Sizes differ, but they are usually this kind of size, so perhaps start there. Purchased packs cost around £10-£15 for 5 squares, so this is massively cheaper
- Cut your fabric to size. Trim off any fraying bits. It doesn't matter at all if they are uneven or wobbly. The wax stops the fabric fraying, so you could trim off any loose threads later if you like
- I used a red check one of 14½"/37cm square and a blue spotted one of 10½"/27cm
- Put the fabric on a baking tray and sprinkle with a very small amount of wax granules, a quarter tsp per sheet. Don't be tempted to use more or your wax wrap will be too thick
- Place in a warm oven for 5 minutes
- You'll probably need to roll the fabric and rewarm it a couple of times to make sure all the fabric is waxed. I found pegs very handy for this stage. Also at this stage, you can evaluate if you need more wax or not
- To use your wax wraps, wrap the item, bowl etc and warm by wrapping your hands around it. The warmth from your hands will melt the wax enough to re-shape it sufficiently to wrap your item
Alternative Method
- Another way of doing this is to place your fabric on a sheet of greaseproof paper on an ironing board, sprinkle on the wax, cover with another sheet of greaseproof paper and press with a hot iron
- You'll need to repeat the ironing a few times, folding the fabric so the wax can penetrate all parts of the fabric. Make sure you keep the sides of the greaseproof paper with wax on it facing inwards, or the wax will melt onto the soleplate of the iron
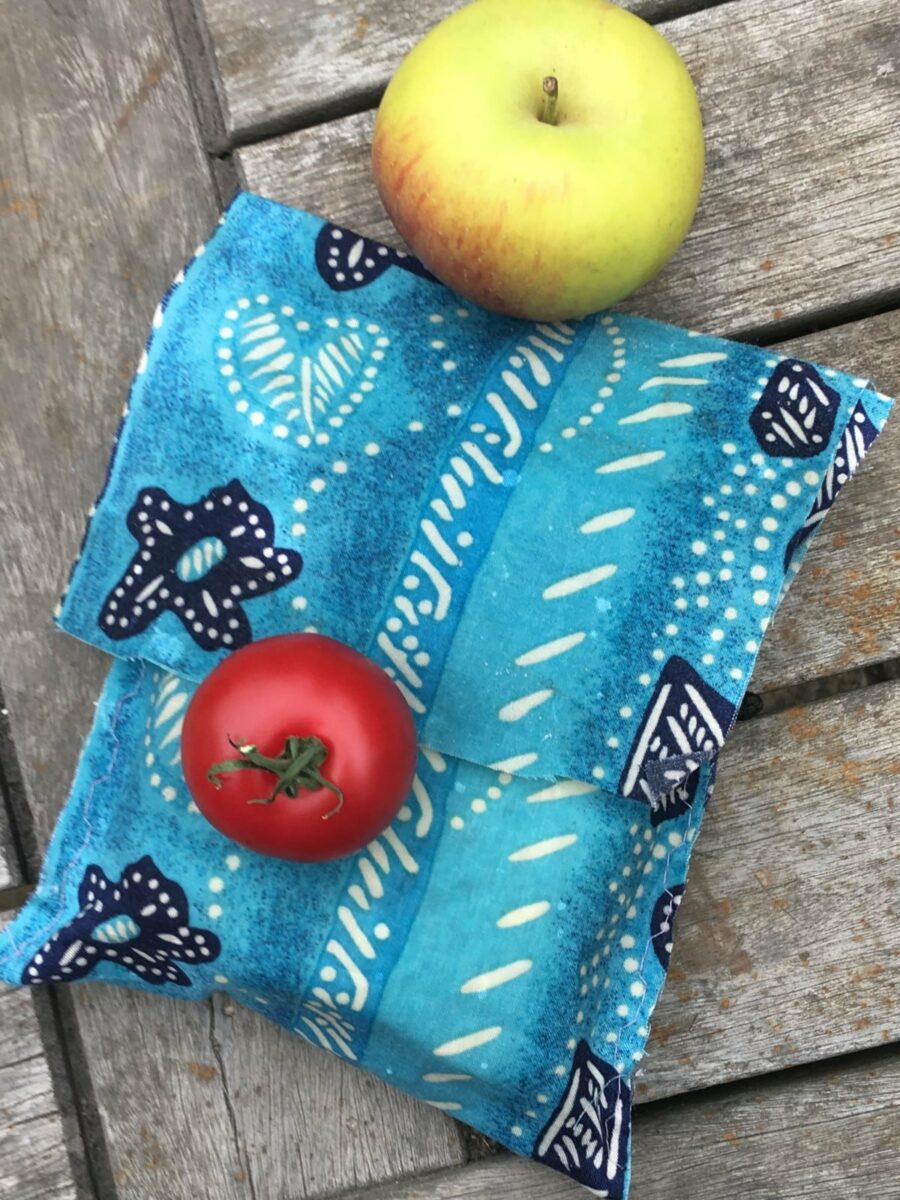
To Make A Beeswax Sandwich Bag
- Cut your fabric to an rectangle, with measurements of 22" x 8", 55cm x 20cm
- Fold your fabric so that 8" / 20cm of the short edge side is laid on top of the remaining fabric. This should give you a double layered piece a little larger than the size of a whole slice of bread. The remaining single layer of fabric is for a flap. Sew up the edges, forming the bag. I also chose to neaten up the top edge by folding over and sewing a line of stitching, but you don't have to.
- Sprinkle on 1 tsp of wax granules. Don't be tempted to use more, or your finished bag will be very thick. Now wax your fabric as above
- As soon as your waxed sandwich bag comes out of the oven, make sure it's waxed all over, on both sides. You will probably have to squish it together, roll it up, or secure with pegs, then reheat, to make sure that all the fabric is waxed
- Your bag is ready to use as soon as it's cold. Place your sandwich inside the bag and tuck in the flap. Not just for sandwiches of course
- After use, do not wash your wax wraps in hot water, brush them out and rinse in cold water. With care, they should last 6-12 months. If they look like they need it, gently re-warm in the oven.
Notes
Wax wraps should last a year or two. Once worn, it might just need a little warm in the oven, or you can add a tiny bit more wax and re-warm. Too much makes them too thick, so be sparing
Nutrition
Calories: 0kcal | Carbohydrates: 0g | Protein: 0g | Fat: 0g | Saturated Fat: 0g | Cholesterol: 0mg | Sodium: 0mg | Potassium: 0mg | Fiber: 0g | Sugar: 0g | Vitamin A: 0IU | Vitamin C: 0mg | Calcium: 0mg | Iron: 0mg
